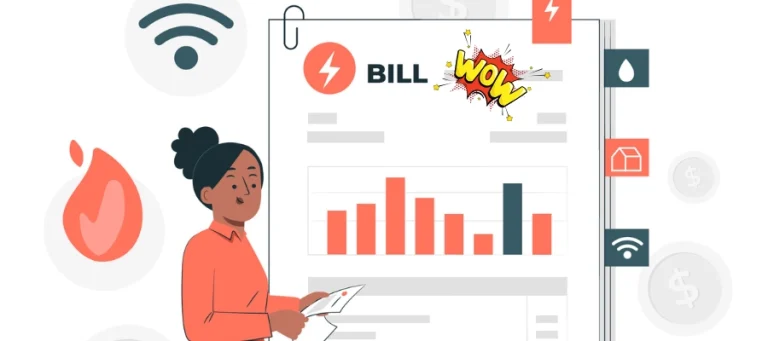
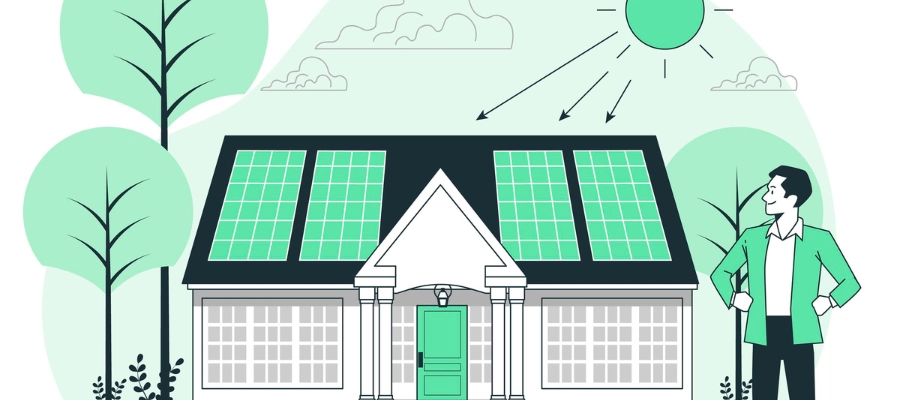
Imagine waking up every morning and seeing your electricity bill almost zero!!!! Sounds amazing, right? In Tamil Nadu, where the sun shines bright most of the year, installing solar panels at home is a smart decision. It saves money, gives you free power, and helps protect nature. In this easy guide, we will explain the solar panel installation process step by step in simple words, so you can also enjoy the benefits of solar energy.
Step-by-Step Instructions for Installing Solar Panels
Step 1: Check How Much Electricity You Use
Before starting solar panel installation, see how much electricity your home needs. Look at your EB bill to know your monthly power usage (in units or kWh). This will help you decide how many solar panels are required.
Important Things to Check:
- How many units you use every month
- Roof space for placing solar panels
- How much sunlight your house gets daily
Step 2: Get the Best Solar Panels from a Certified Supplier
Getting the best solar panels starts with choosing a certified supplier who guarantees quality and reliability. Certified suppliers provide high-efficiency panels with warranties, ensuring long-term performance and durability. By selecting a trusted provider, you avoid low-quality products and enjoy better energy savings, strong after-sales support, and a hassle-free solar experience.
Step 3: Get Permission and Approvals
In Tamil Nadu, before installing solar panels, you must get permission from the local electricity board (TANGEDCO). Check rules for solar power connection and apply for approval.
Steps to Follow:
- Check the latest solar installation rules in your area.
- Apply for permission from the electricity board.
- Complete paperwork for grid connection.
Step 4: Fix the Mounting Structure
Mounting structure is the base where solar panels are placed. It must be strong and set at the right angle for maximum sunlight.
Installation Steps:
- Fix mounting rails on your terrace.
- Adjust the angle based on Tamil Nadu’s sun position.
- Keep enough space for air circulation to prevent overheating.
Step 5: Fix the Solar Panels
After setting the mounting structure, attach the solar panels properly.
Installation Steps:
- Place the solar panels on the frame.
- Tighten them with bolts and clamps.
- Adjust their position for maximum sunlight.
Step 6: Connect the Wires and Inverter
Solar panels produce DC power, which needs to be converted to AC power for home use. For this, you need an inverter and other electrical connections.
Important Components:
- Solar inverter: Converts DC to AC power.
- Charge controller: Controls battery charging (if using batteries).
- Battery (optional): Stores extra power for night use.
Step 7: Connect to Grid or Battery
You can connect your solar system in three ways:
- Grid connection: Extra power goes to the EB grid, and you get bill reduction.
- Off-grid system: Uses batteries to store power for use at night.
- Hybrid system: Mix of both grid and battery for better power backup.
Step 8: Check and Maintain Your System
After installation, test the system to check everything is working fine.
What to Do:
- Use a solar app to monitor power output.
- Check for loose connections and fix them.
- Clean panels regularly to remove dust and increase efficiency.
Do’s and Don’ts of Solar Panel Installation
Do…
✅ Choose a certified installer for better efficiency and safety.
✅ Ensure proper tilt angle for maximum sunlight absorption.
✅ Keep the panels clean to maintain high performance.
✅ Use good-quality wiring and connections.
✅ Get necessary approvals before installation.
✅ Monitor energy production regularly.
Don’t…
❌ Don’t install polycrystalline solar panels under shade.
❌ Don’t use poor-quality cables or loose connections.
❌ Don’t install without checking roof strength.
❌ Don’t ignore regular maintenance.
❌ Don’t overload the system with extra appliances.
❌ Don’t attempt DIY installation if you lack technical knowledge.
Conclusion:
Imagine looking at your solar panels every morning and feeling proud! You are not just saving money, but also helping the environment. In Tamil Nadu, with so much sunlight, solar panels are the best way to reduce electricity costs and live a tension-free life.
Solar energy is not just for big companies; now, even homes can use it easily. Take the first step today with Rcsolars and enjoy free power from the sun!
Frequently Asked Questions (FAQs)
It depends on the system size and brand. Generally, it costs ₹55,000 to ₹2,00,000 for a home setup.
Yes, but it is better to get a professional to avoid mistakes and ensure safety.
Solar panels work well for 25-30 years if maintained properly.
Clean the panels once a month to remove dust and bird droppings. Check the connections regularly.
By following this solar panel installation guide, you can easily switch to clean and free solar power. For expert installation services in Tamil Nadu, contact RC Solars today!


Attractive section of content. I just stumbled upon your site and in accession capital
to assert that I acquire actually enjoyed account
your blog posts. Any way I will be subscribing to your feeds and even I achievement you access
consistently quickly.
you’re truly a excellent webmaster. The website loading pace
is amazing. It seems that you’re doing any unique trick.
Moreover, The contents are masterpiece. you have performed a fantastic task on this
matter!